Blog

What to Do If My Garage Door Cable Breaks

What to Do If My Garage Door Cable Breaks

If you have an automatic garage door, you likely know it relies on cables on both sides to lower and lift the door. You may also wonder what you should do if your garage door cable breaks. These cables transmit energy from garage door springs to the door, making them crucial to proper functionality.

However, if a cable snaps or falls out of a drum, your garage door may cease to function and, worse, may drop unexpectedly. We’ll discuss what to do if your garage door cable breaks, whether you can still use the door, and whether you should try to replace a garage door cable yourself or hire a licensed contractor.

Should I Try to Open a Garage Door with a Broken Cable?

Under no circumstances should you try to open a garage door with a broken or loose cable. The remaining wires are under excess tension, increasing the chances that they will snap, causing the door to fall on whatever or whomever is underneath it.

If your garage door gets stuck open due to a faulty cable, immediately call garage door repair specialists and await their arrival. If you cannot leave your home exposed, you may have to cut the remaining cable to close the entrance. In such instances, it is critical to get at least three or four other people to hold the door and carefully lower it to the ground when the cable is severed.

Signs of Broken Garage Door Cables

Before proceeding with any repairs, it's essential to identify signs of damaged or broken garage door cables. Look for the following:

  • The door is crooked and unbalanced.
  • The door is shaking, squeaking, or operating unusually.
  • The door crashed to the floor unexpectedly.
  • The door is stuck in place and won't go up or down.

If you notice any of these signs, you must address the issue promptly.

How to Fix Your Garage Door Cable

  • First, make sure the door is wide open and securely locked in place. You can do this by using vice grips on the metal track just below the door's bottom wheel or by placing a ladder or scaffold under the door to keep it steady.
  • Once the door is safe and steady, remove the old, broken cable looped around a peg at the bottom of the garage door and remove it from the drum (the round part it's wrapped around).
  • Now, follow the instructions from the cable manufacturer to attach the new cable to the drum. Wrap the cable around the drum as directed.
  • After that, loop the other end of the new cable around the peg at the bottom of the door.
  • The new cable might not be exactly the same length as the old one. To ensure everything is even, replacing both cables is a good idea. You can also adjust the length of either cable, but be careful if you need to work with the torsion spring, as it can be tricky.

Garage door cable repair is not a DIY task unless you have been trained and have first-hand experience in garage door repair. Fixing the cables yourself poses significant risks and may lead to injuries. Many emergency room visits result from people attempting spring or cable repairs without the proper knowledge and tools. That’s why we recommend, instead of doing it yourself, calling the professionals of Door Dcotor.

Finding Expert Garage Door Cable Repair Service

Look no further than Door Doctor if you need timely and dependable emergency garage door repair professionals to fix your garage door cables. We offer complete garage door repair, installation, and maintenance services. 


Contact Door Doctor today for efficient, professional solutions to your garage door issues.
How to Open a Garage Door Manually - A Step-by-Step Guide

How to Open a Garage Door Manually - A Step-by-Step Guide

You pull into your driveway after a tiring day at work, only to notice something is amiss. You click the garage door button and … nothing. Is the power out? 

While a minor power disruption is generally nothing more than an inconvenience, being unable to access your garage is an issue. Thankfully, garage door manufacturers have anticipated such situations and devised alternative methods for opening your garage door during a power outage or automatic systems breakdown. Here’s how to open a garage door manually. 

How to Open a Garage Door Manually

When your garage door won’t open automatically, there’s no need to panic that you’ll be stranded or delayed. Modern garage doors have a release cord, so you can open them manually without power. 

Here’s how to locate and use this cord to open the door manually so you are not locked out of your garage.

How to Open a Garage Door Manually From the Inside

Unlock the door

Ensure that any locks or latches on the outside of the garage door are open so they don’t interfere when you are manually opening the door.

Unplug the opener

Disconnect the power cord connected to the automatic door opener for safety purposes.

Find the emergency release cord

Locate the emergency release cord, distinguished by its red handle, hanging from the centre rail of the garage door track. This cord is attached to the trolley, which connects the door’s arm to the centre track. Do not use the emergency release handle unless the garage door is closed. 

Pull the cord

Pull down the emergency release handle to disconnect the garage door from the trolley, switching the door into manual mode.

Lift the garage door

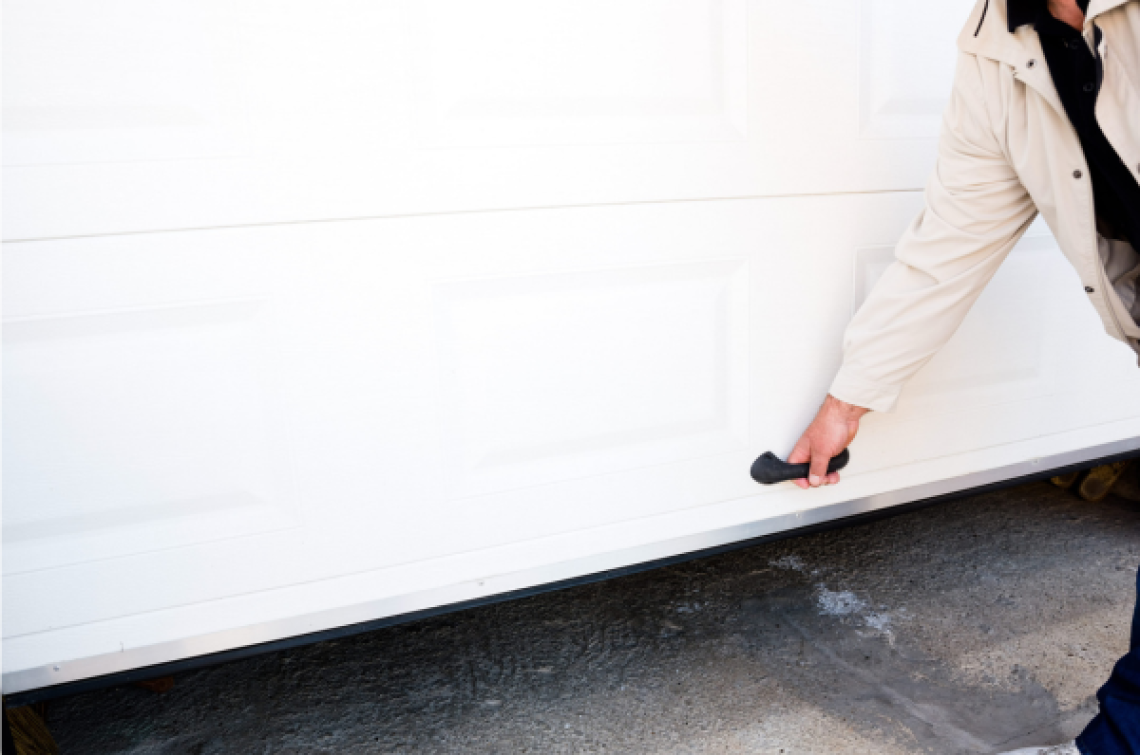
Grip the bottom of the garage door and lift it straight up until it stops moving. Ensure it stays in position before releasing it and driving your car out of the garage.

Close the door

Once outside, pull the door down by hand to close it again. If your door has a lock bar, slide it into place manually to secure the door.

How to Manually Open a Garage Door From the Outside

Locate the emergency release kit

Find a small lock near the top of your garage door. This lock houses an emergency release cable. You will also need the corresponding key.

Unlock the emergency release cord

Insert the key and remove the lock tumbler to reveal the cable. This cord triggers the release mechanism, switching the door to manual mode.

Unlock the garage door

Below the emergency release kit, you’ll find another lock next to a handle that keeps the door closed. Use the key to unlock the door and turn the handle vertically.

Lift the door

Pull the garage door straight up using your hands, ensuring it remains open before driving your car into the garage.

Close the door

Pull the door down into a closed position from inside the garage.

Safety Measures When Opening a Garage Door Manually

To ensure your safety, it is essential to disconnect your garage door opener’s power cord before opening your garage door manually. Even if the power is already out, it is prudent to confirm that no electricity is reaching the opener.

Conclusion

During a power outage, it is crucial to know how to open a garage door manually. Alternatively, installing an automatic opener with a backup battery ensures uninterrupted operation. 

You can also contact Door Doctor today for reliable garage door installation and repairs.

How to Align Garage Door Sensors

How to Align Garage Door Sensors

Is your garage door not functioning properly? Are you tired of getting out of your car to open it manually every time you come home instead of simply pressing a button from the comfort of your car? If so, it’s time to take action and learn how to align your garage door sensors. Here’s why properly aligned door sensors are key to your garage door’s operation.

Proper garage door operation relies on correct sensor alignment. One sensor, known as the emitter, sends signals to the other sensor, the receiver, which triggers the closing of your garage door. However, when these sensors are not properly aligned, the receiver fails to receive signals from the emitter, resulting in a malfunctioning door that won’t close.

Tools Required for Aligning Your Garage Door Sensors

To align your garage door sensors, you’ll need the following tools:

  • Electricity-resistant gloves
  • Screwdriver
  • String
  • Level

How to Align Garage Door Sensors — A Step-by-Step Process

Step 1 — Cut the Power Supply to the Garage

Before starting the sensor alignment process, turning off the power supply is crucial. You can switch off the sensors’ dedicated switch or trip the garage fuse from your home’s breaker box. Additionally, for your safety, wear electricity-resistant gloves while handling the wires, even if they are not live. It’s always better to prioritize personal safety and avoid unnecessary risks.

Step 2 — Loosen the Screws Holding the Sensors

To begin, loosen your garage door sensors’ mounting brackets by turning the screws counterclockwise. Note that you only need to loosen the screws without completely removing them. You can slide the mounting brackets up and down in the following steps without worrying about misplacing the screws.

Step 3 — Slide the Garage Door Sensors Downward

After loosening the screws and confirming that the mounting brackets can be moved, gently slide the garage door sensor downward using your hands. Avoid using a wrench, which may cause surface marks and disrupt the sensor’s functionality. Slide the sensor down as low as possible while ensuring it remains within the mounting brackets.

Step 4 — Attach the String and Tie the Knots

Once you have slid the sensors as low as possible, tightly attach one end of a string to one garage door sensor and its mounting bracket. This step is crucial for the success of the overall operation. Then, run the untied end of the string across the garage opening and wrap it around the centre of the opposing sensor. Finally, tie a knot so the string remains as straight as possible.

Step 5 — Ensure that the String is Level

Position a level below the string and ensure it is perfectly level across the garage doorway. Press the level against the string and hold it for a few seconds. If the string is level, proceed to the next step. However, if it is not level, adjust one or both sensors by sliding their mounting brackets. Continue adjusting until the level indicates that both sensors are properly aligned.

Step 6 — Tighten the Screws

When the level indicates that both sensors are at the same level, tighten the screws securely. Ensure they are tightened enough that the garage door sensors remain in their new position even with applied force. After tightening, recheck the alignment using the level to confirm that both sensors are properly aligned.

How Do I Know If My Garage Sensors Are Aligned?

There are a couple of ways to determine if your garage sensors are properly aligned. First, check the small lights on each sensor. If both lights are green, it indicates that the sensors are in sync with each other.

Another method is to perform a test by placing an object between the two sensors. If the garage door does not open or close when the object is in place, it means that the sensors are aligned correctly. However, you need to adjust the garage door sensors if the door opens or closes.

Conclusion

Garage door sensors are a valuable innovation, but they are prone to misalignment due to where they are located. If you encounter issues with your garage door sensors, it is crucial to address them promptly. 

You can restore your garage door sensor to proper functioning with patience and the tips above. 

Still, wondering how to align garage door sensors? Contact Door Doctor. We can solve all your garage door problems!
New Garage Door on Old Tracks

Can a New Garage Door Be Installed on Old Tracks?

Installing a new garage door on old tracks may seem to be a simple money-saving solution when replacing your worn-out or damaged residential garage door. However, many homeowners do not adequately consider the potential safety hazards and risks involved in this decision. While you could install a new garage door on old tracks, it is vital consider the following before chasing the opportunity to save a few dollars.

Benefits of Installing a New Garage Door on Old Tracks

Under certain conditions, a new garage door can be installed on old tracks, which offers homeowners a range of benefits. Below are some advantages of reusing old tracks when installing new garage doors:

Cost Savings

One of the primary benefits of reusing old tracks is that it significantly reduces the overall cost of garage door replacement. Purchasing new tracks can add to the cost, so homeowners may opt to use existing tracks as a way to save money without compromising functionality or safety.

Time Efficiency

Installing a new garage door on existing tracks can save considerable time during the replacement process. Additional preparation and adjustments are required to install new tracks, which can prolong the installation timeline. Reusing old tracks eliminates the need for such alterations, streamlining the entire process.

Compatibility

Old tracks might be compatible with certain garage door models, making them a suitable option for installation. When the existing tracks align with the specifications of the new garage door, it ensures a seamless fit and smooth operation. When the new garage door is compatible with the existing tracks, homeowners can upgrade their garage doors without the hassle of searching for new tracks that perfectly match their door's requirements.

Considerations When Installing a New Garage Door on Old Tracks

Type of Garage Door

Replacing a garage door on old tracks is only feasible if you stick to the same brand. Each brand has a unique door style that must align with the track dimensions. Using mismatched parts can cause the track brackets to bend or become misaligned.

Thickness and Weight

The new garage door should match the weight and thickness of the old one. If not, the horizontal tracks may fail to support the door adequately.

Garage Door Materials

If your old tracks are made of galvanized steel and are in good condition, they can be reused as they are rust resistant. However, if your garage door is made of a lighter material and the tracks are aluminum, ensure their condition is suitable before reuse.

Other Key Factors

Consider the garage door opener's headroom, location, and size, as these factors can also affect the horizontal tracks.

Old Tracks vs. New Modern Tracks

Material & Construction

Modern garage door tracks are predominantly crafted from galvanized steel, providing superior resistance to rust and corrosion compared to older tracks. Furthermore, new tracks boast sturdier construction, enhancing their durability and lifespan.

Design Features

New garage door tracks have innovative design features that elevate performance and safety. For instance, some modern tracks incorporate rolled edges to minimize the risk of finger injuries and can be adjusted to ensure a perfect fit for your garage door.

Compatibility with Modern Garage Doors

Today's garage doors are often more substantial and better insulated than their older counterparts. To accommodate these enhancements, new tracks are designed to provide proper support and seamless operation, ensuring optimal compatibility with modern garage doors.

Conclusion

Investing in a new garage door track could save you money over the long term. Trying to cut costs during the initial installation might lead to significant expenses in the future when more severe issues arise. If you're uncertain about how to proceed, contact Door Doctor.


With over 40 years of experience as a garage door expert, we handle everything from routine maintenance to new installations with the utmost proficiency. Trust us to ensure your job is completed flawlessly. 


Contact us today for your repair or installation quote and secure a reliable and durable garage door solution for your home!
Does the colour of my garage door matter

Does the Color of My Garage Door Matter?

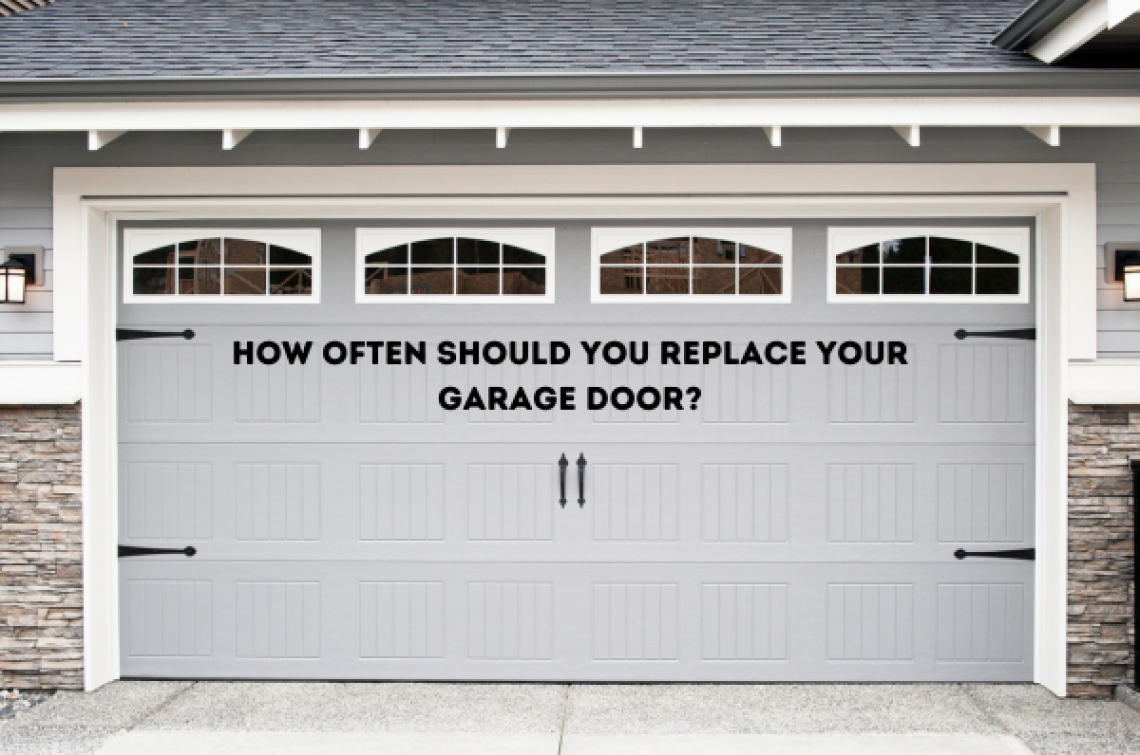
We all know that front doors set the tone for your home. They are the point of entry. Homeowners take great care in choosing a paint colour for their front door. But front doors aren’t the only way point of aesthetic appeal in your house. The garage door is also something you use to enter and exit daily. So it does become important to ask yourself: “Does the colour of my garage door matter?” 

Initially, this question might not even seem that important. After all, people barely glance at the garage door, right? 

Wrong! Garage doors are crucial for improving your house’s overall appearance and curb appeal. They have a vast surface area and are a significant part of your house’s exterior. Door Doctor will explain how to select the right garage door colour and why this choice is important. 

Why Choosing the Right Colour for Your Garage Door Matters

You may think that your garage door colour doesn’t matter. But colour matters on the exterior of your home, just as it does on the inside, even on your garage door. 

A well-chosen garage door colour that complements your property has several positive impacts. 

  • Your home looks refreshed and updated. 
  • It adds curb appeal to your property. 
  • It adds value to your property. 
  • It makes your home more inviting. 
  • It can help enhance and complement the rest of your exterior decor. 

Factors to Consider While Choosing Garage Door Paint Colour

Your Door Material

Modern garage doors are usually made of either wood, steel, aluminum or vinyl. Try to choose a colour that enhances the material of your garage door. This is where the issue of garage door colour takes shape. 

Wood: Garage doors made of wood already have naturally beautiful colours that could be obscured by coloured paint. If you have a wooden garage door, you should opt for a semi-transparent or translucent finish. Giving your wooden garage door a high-quality finish can really amp up the curb appeal of your home. 

Aluminum: Aluminum garage doors are usually available in several basic colours. But if you want to paint your aluminum garage door, ensure that you prepare the metal with an oil primer. 

Vinyl: Vinyl garage doors take more effort to paint. They require several coats for the paint to actually stick to the door’s surface. 

Current Exterior Colours

The exterior of your house usually has three primary colour schemes—the outdoor fixtures, the visible walls on the exterior, and the roof. Opt for a garage door colour that strikes the right balance between these colour palettes. If you already have a lot of fancy outdoor fixtures, opt for a softer colour. If you want to make a bold statement, choose a contrasting colour that makes your garage door pop! 

When choosing a garage door colour, consider your home’s exterior design as a whole. Choosing the same colour for the garage door as the rest of your exterior can make your house look bigger. If you want the garage door to stand out, choose a colour that makes it pop. Each colour tends to evoke a different feeling for your home. 

Green: A dark green garage door gives your home exterior a luxurious look and can enhance the beauty of your house. 

Red: The colour red will attract the most attention and can make your garage door the focal point. 

Blue: Blue is also a popular choice for garage doors, as it has a calming effect and provides a subtle aesthetic boost. 

Black: Black is another bold colour that adds sophistication. It pairs especially well with white exteriors. 

The Style of House

When choosing your garage door colour, it is important to consider your house’s architectural style. If you have a modern home, your garage door will look best in bold, dark colours that make a statement. Think about whether you want your garage door to pop or if you want a more complementary colour that blends in with the rest of the street. 

If your home is has a fairly relaxed exterior, choose colour palettes with soft whites and breezy blues. Your garage door colour should be consistent with your house’s theme and style. Otherwise, you can end up with odd, conflicting colour combinations that make your home less attractive.

The Landscaping

Last, but not least, it is worth selecting a garage door colour that complements your landscaping! Like any of the outdoor fixtures and colours, the landscaping on your property is a huge factor in choosing your garage door colour. 

If your property has a lot of shrubs and trees, you want to find a colour that complements them. If you have flowers and shrubbery in your garden, choose a more traditional colour so that the landscape doesn’t clash with the modern garage door colour. 

Don’ts for Selecting a Garage Door Colour

Whether you are choosing a garage door for your new home or upgrading your current home’s garage door, here are the major DON’Ts when choosing a garage door colour.

DON’T be too trendy: A hot pink or aqua blue garage door sounds super exciting but take a second to imagine what you will think about it a year down the line. You don’t want people wondering, “What were they thinking?” when they see your garage door. 

DON’T make your garage door the focal point: Sure, you want people to notice your garage door, but it shouldn’t be the central focus of your exterior. Your garage door should complement your front door, which is the actual showstopper.

DON’T match your garage door to your front door: This should be avoided, especially if you have painted your front door a bold blue or red. The front door should be the main attention-grabbing feature of your exterior.   

Enhance the Beauty of Your Home with Door Doctor Garage Doors

If you have decided to give your garage door a much-needed facelift now that you know that your garage door colour matters, then Door Doctor is here for you. 

Our huge variety of garage doors for residential properties offers many options to choose from. Request a residential quote and learn all about our expert skills in making your garage door one of the most beautiful features of your home exterior.  

Contact us by calling the office in your region or 1-800-663-3130. You can also book an appointment online.

Door Doctor - Where you never have to choose between quality and aesthetics.

Garage Door Won't Close

Garage Door Won't Close? Troubleshooting Guide

A malfunctioning garage door that refuses to close can disrupt your daily routine and pose security concerns. But there’s no need to panic! We’ll guide you in finding the root cause of a garage door that won’t close and implement the necessary fixes.


From sensor problems to misaligned tracks, we've got you covered. In a few simple steps, you can confidently tackle the issue and restore your garage door's smooth operation without the need for professional intervention. 


Let's get your garage door back on track and restore seamless functionality.

Top Reasons Your Garage Door Won't Close

  • Disrupted Power Source

One of the most common reasons is a disrupted power connection. Check the power supply to ensure the garage door opener is receiving electricity.

  • Sensor Obstruction

Modern garage doors have safety sensors that prevent them from closing if there's an obstruction in their path. Inspect and clear any debris or objects blocking the sensor's path.

  • Broken Torsion Springs

Torsion springs counterbalance the weight of the garage door. If these springs break, the door may become difficult to move or close properly.

  • Misaligned Tracks

Garage door tracks can become misaligned, causing the door to stick while closing. Problems with alignment can impede smooth door movement.

  • Malfunctioning Remote Control

Sometimes, the problem may lie with the garage door remote control. Check and replace the batteries if necessary and ensure the remote works correctly.

Troubleshooting

Check the Sensors

Garage door openers have safety sensors by the tracks to detect obstructions and prevent closure if something is in the way. Check for dirty or misaligned sensors if the door won't close fully. Use a clean cloth to clean the lenses and realign blinking sensors until the light is steady by altering their position.

Check the Tracks and Rollers

Check tracks and rollers if the sensors seem to be in order, but the garage door won't fully close. Remove any obstructions and inspect for damage. Gently bend bent sections back into place with clamps or precise hammer strikes. Lubricate rollers with white lithium or silicone-based grease for smooth movement.

Check the Trolley

The trolley might be in bypass mode if the garage door doesn't close automatically but moves freely by hand. To fix it, pull the hanging rope towards the door to engage the trolley latch with the chain. When the opener is activated, the trolley will work properly.

Check Your Remote

If the garage door won't close with the remote, replace its batteries first. If it still doesn't work, reprogram it by accessing the "learn" button on the opener, pressing it until a light flashes, and then pressing a button on the remote. The remote should work properly after reprogramming.

Manually Close Your Garage Door

If you can't fix the door, call a technician. In the meantime, use the bypass rope to close and secure the garage manually. Insert a bolt into holes in the tracks to lock the door if no built-in latches are available.

Preventive Maintenance Tips for a Smooth-Functioning Garage Door

Regular Lubrication

Keep all moving parts of the garage door, such as hinges, springs, and rollers, well lubricated to reduce friction and ensure smooth operation.

Visual Inspections

Inspect the garage door and its components on a regular basis for signs of wear, damage, or misalignment. Address any flaws as soon as possible to avoid more serious difficulties.

Professional Maintenance

Schedule regular maintenance with a skilled garage door technician to detect and resolve potential issues before they become serious.

Conclusion

You can keep your garage door running smoothly and avoid the annoyance of a door that won't close by following these troubleshooting procedures and practicing preventive maintenance.


But if the problem persists, call the professionals at Door Doctor right away!

English