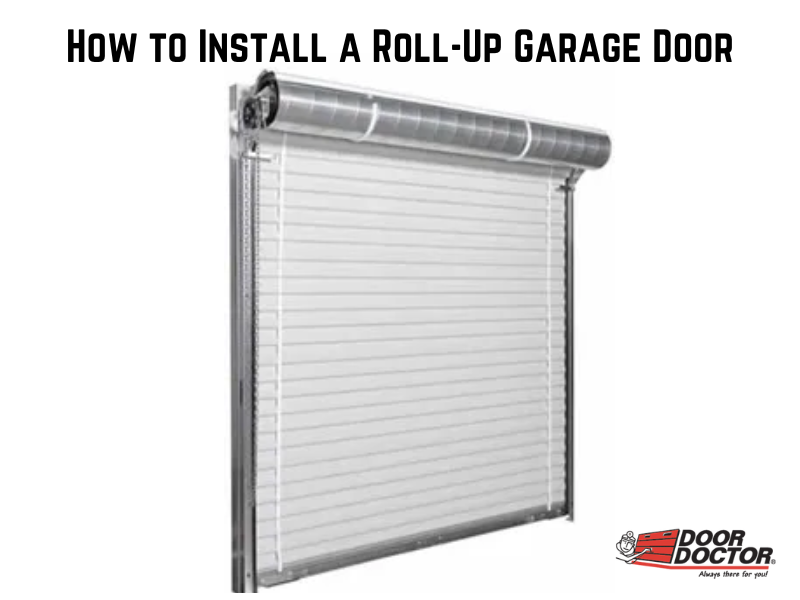
How to Install a Roll-Up Garage Door?
Looking to improve your garage's functionality and aesthetics?
A roll-up garage door is a perfect solution.
Not only are they sleek and space-saving, but they also offer smooth operation and increased security. While professional installation is always an option, knowing how to install a roll-up garage door yourself is a rewarding and cost-effective project for the handy homeowner.
Tools Required to Install Roll-Up Garage Door
Before you begin, ensure you have all the necessary tools and materials:
- Roll-up garage door kit
- Measuring tape
- Level
- Drill
- Screwdriver
- Hammer
- Wrench
- Ladder
Steps to Install Roll-Up Garage Door
Step 1: Preparation is Key
Before you dive into installation, ensure a smooth process by checking your garage door opening:
- Measure Up: Match the door size to the opening's measurements. Don't skip this crucial step!
- Level Check: Grab a level and ensure both the top (head) and bottom (jamb) of the opening are level.
- Plumb Jambs: Verify that the door jambs (vertical sides) are perfectly plumb (straight up and down).
- Track Alignment: Make sure the existing track (if present) sits flush with the opening.
- Gather the Troops: Double-check that you have all the installation parts before you begin.
Step 2: Getting Organized
Now that you're prepped, let's get the door and parts ready for installation:
- Clean Sweep: Give the floor a good cleaning to avoid scratches or damage to the door curtain (panels).
- Track Time: Place the left track upright on the floor, positioned perpendicular to the opening. The track bottom should be against the left jamb, with the inside top flush against the building. Repeat this process for the right side.
- Hardware at the Ready: Lay out all the hardware on their respective sides for easy access during installation.
Step 3: Securing the Brackets
The brackets hold the door panels in place, so ensure a secure fit:
- Bracket Orientation: Position the bracket with the shorter side facing upwards.
- Tensioner Pawl Clearance: Make sure the tensioner pawl (locking mechanism) doesn't obstruct the ratchet wheel.
- Track and Bracket Alignment: Align the track and bracket so the hooks can be inserted with ease.
- Locking It In: Fit the bracket and track together until the locking tab clicks securely into the notch on the bracket.
Step 4: Lifting the Assembly
With the brackets and tracks secured, it's time to raise the door assembly:
- Two Hands are Better: This step requires two people for the safe and proper installation (or replacement) of the door.
- Track Placement: Ensure the bottom tracks are resting face-up towards the door jambs.
- Pivot and Raise: Carefully pivot the assembly around the jambs as you lift it into position.
Step 5: Fastening the Tracks
Now that the assembly is in place, let's secure the tracks and brackets to the jambs:
- Level Up: Double-check the position of the tracks and brackets with a level for accuracy.
- Fastener Frenzy: Use appropriate fasteners to attach brackets and tracks securely.
- Bracket Spacing: Maintain at least a one-inch gap between the front and back of the brackets.
- Bracket Centering: Ensure the brackets are centered on the jambs for a balanced look.
- Material Matters: The fastener type depends on your jamb material. Refer to the table below for specific recommendations (steel, concrete, wood).
Material |
Fasteners |
Drill Size |
|
Steel |
1/4 inch by 1-inch TEKS Screw |
No drilling necessary |
|
Concrete/filled block |
1/4 inch by 1-3/4 inch Powers Wedge-Bolt |
Powers 01314 |
|
Wood |
1/4 inch by 1-inch Lag Screw |
No drilling necessary |
Step 6: Spring Time
With the door panels secured on the brackets, let's adjust the spring tension:
- Spring Rotation: Rotate the spring to achieve proper tension, typically around 1.5 revolutions.
- Rotation Direction: Rotate the spring in the direction that allows the door to move downwards through the bottom tracks.
Step 7: Stopping the Door
The head stop prevents the door from hitting the casing too hard when open. Let's attach it:
- Head Stop Release: Release the head stop from inside each track.
- Securing the Stop: Use a hex screw to secure the head stop firmly to the track.
Step 8: Finishing Touches
These final steps ensure a functional and user-friendly door:
- Stop clip installation: Attach a stop clip using a carriage bolt and nut at the bottom of each bar.
- Handle installation: Mount the handles on the outside bottom bar using carriage bolts and nuts.
- Rope installation: Thread the rope through the center hole of the bottom bar angle.
Call the Professionals for Roll-Up Garage Door Installation
While DIY garage door installation is possible, hiring the professionals of Door Doctor is generally recommended to ensure it's done correctly and safely.
Contact us today if you're looking for garage door repair in Ottawa, Montreal, Kingston, or Toronto/Brampton.


